In The Night Garden Party Theme
Our youngest daughter Rosie recently had her 2nd birthday. I find that 2 is a tricky age, in that they are not really into anything from a ‘theme’ perspective just yet. They are not diehard Frozen fans, wanting to be the next Elsa. It’s that stage before they can sit for more than 10 minutes or so without getting distracted. So when I thought about what theme to do for Rosie’s birthday there was really no other clear choice than, In The Night Garden (INTG).
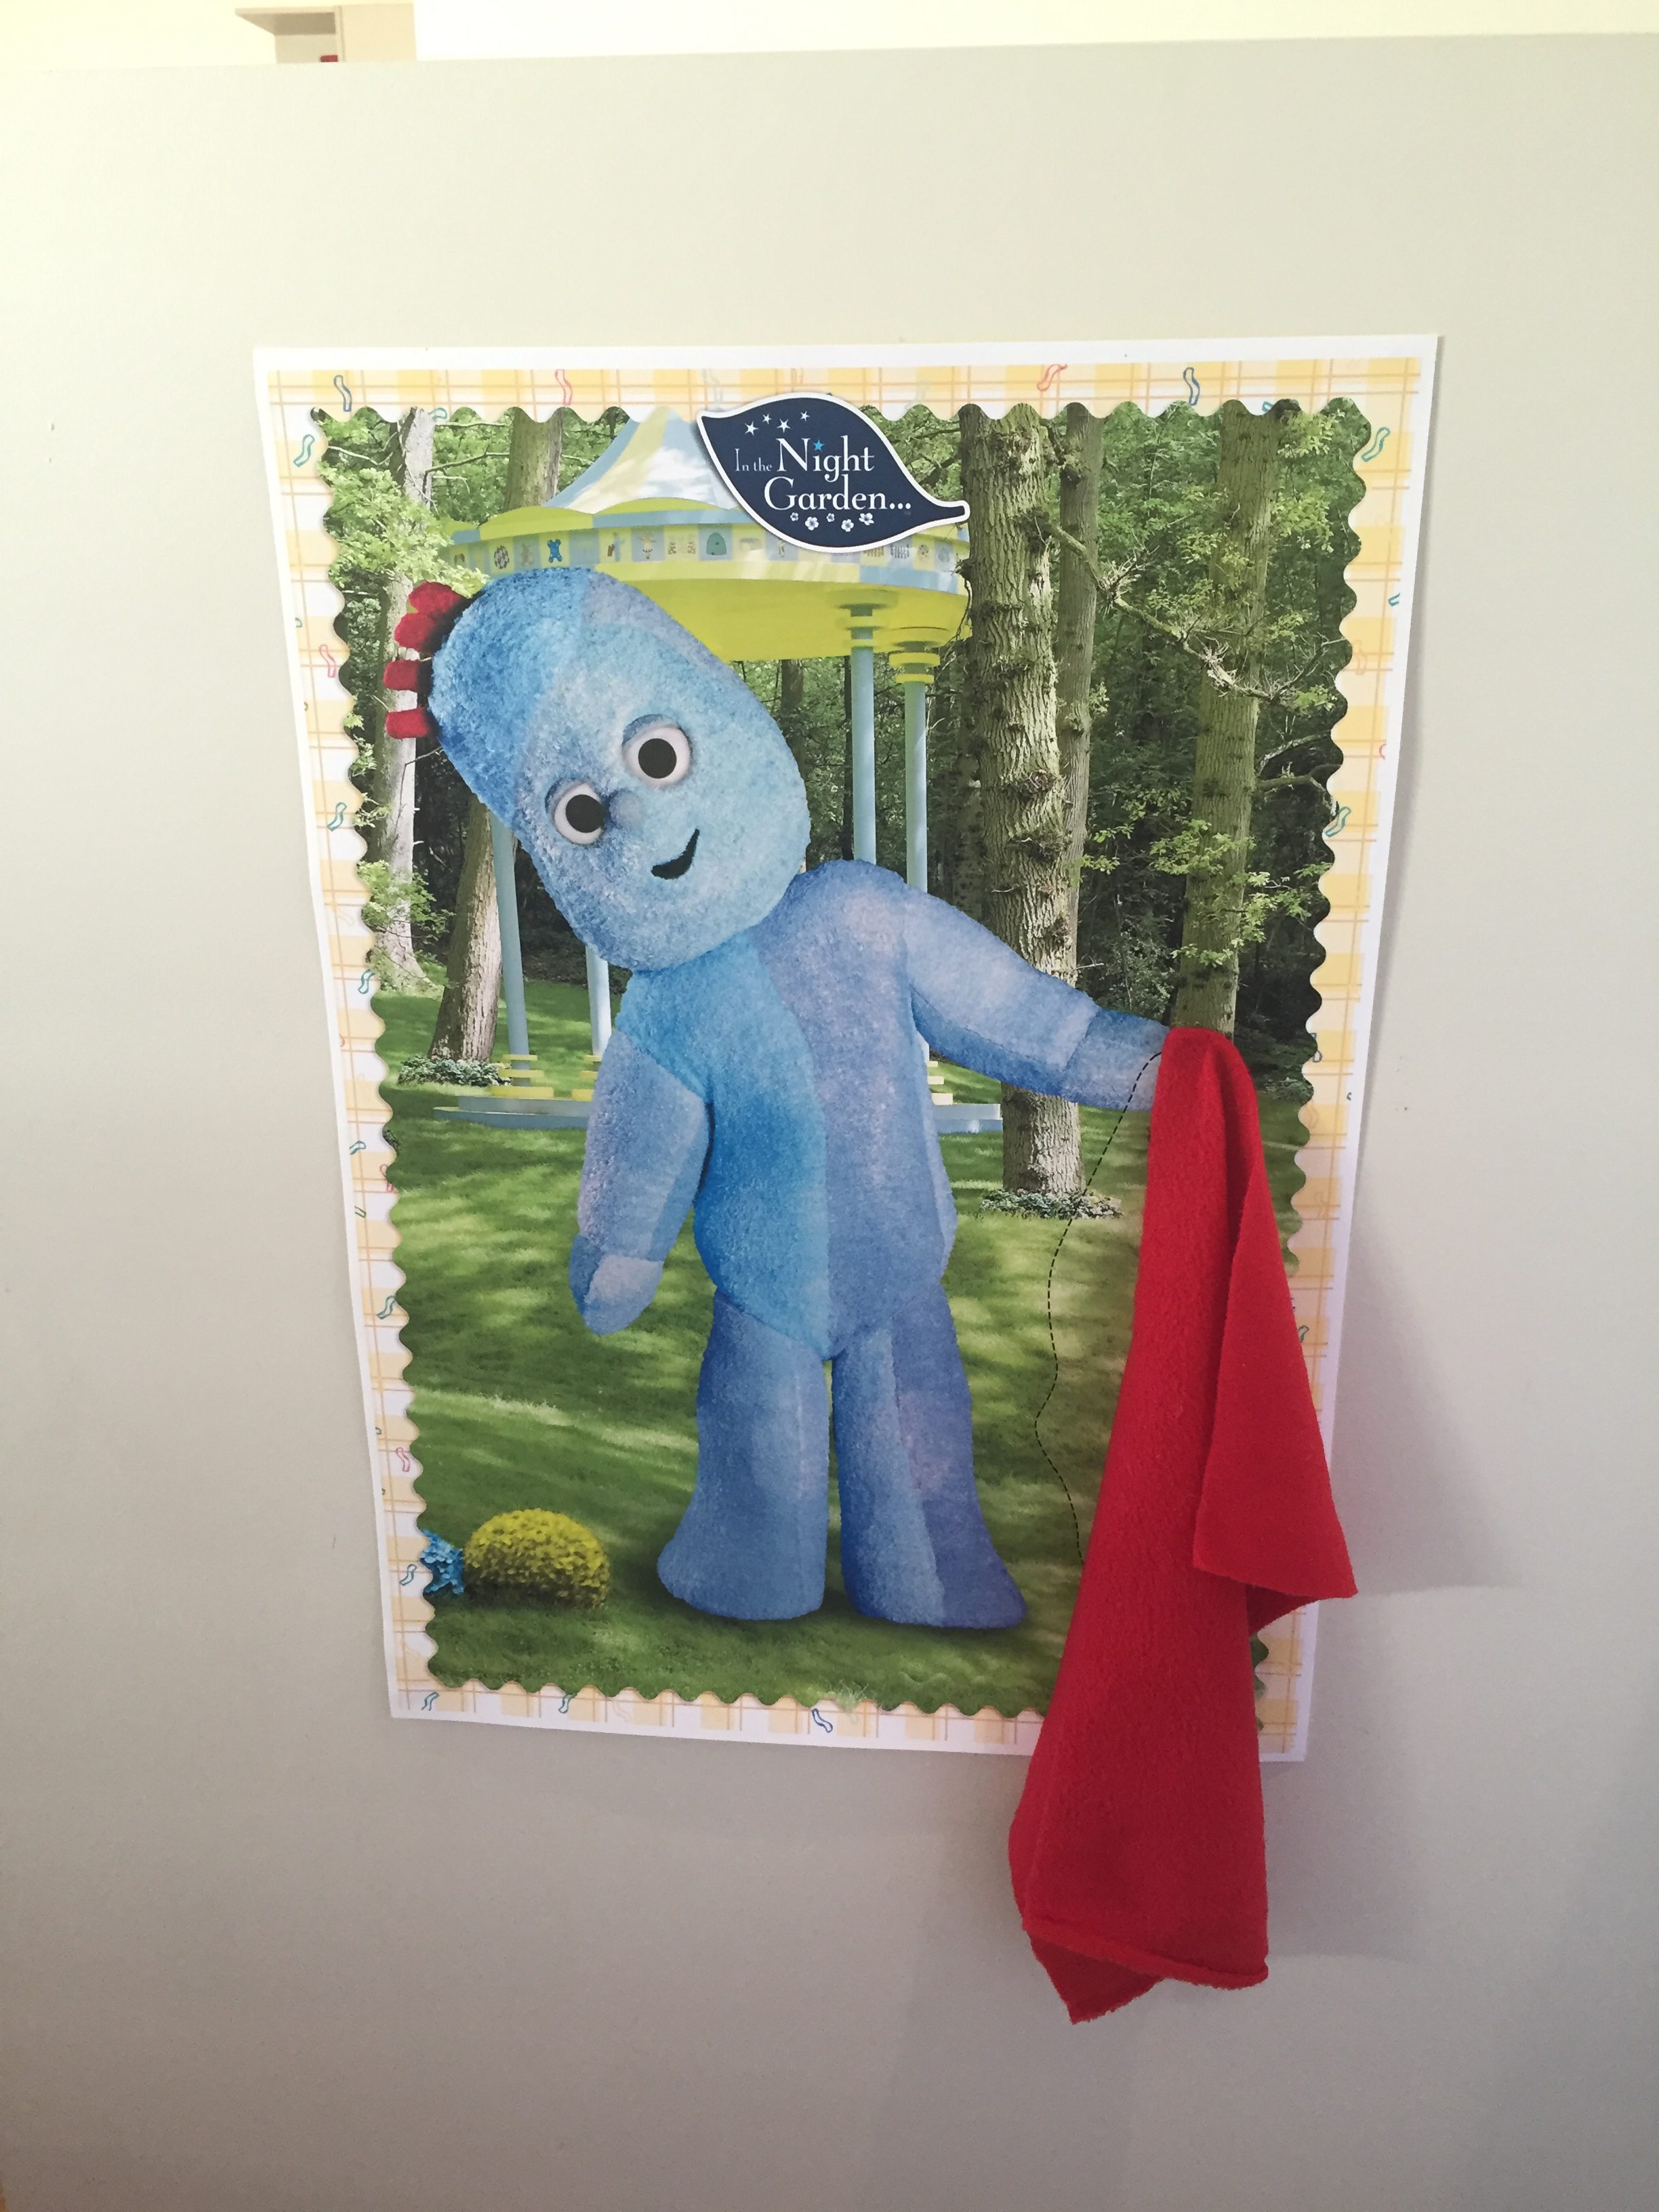
Now i’m not sure what this show is really all about, it’s got words like Pinky Ponk, Ninky Nonk, Makka Pakka just to name a few. But hey, i’ll take these weird words because Rosie just loves the show and dances around the living room while she watches it. Iggle Piggle happens to be her favourite character, so there we have it, a party theme is born.

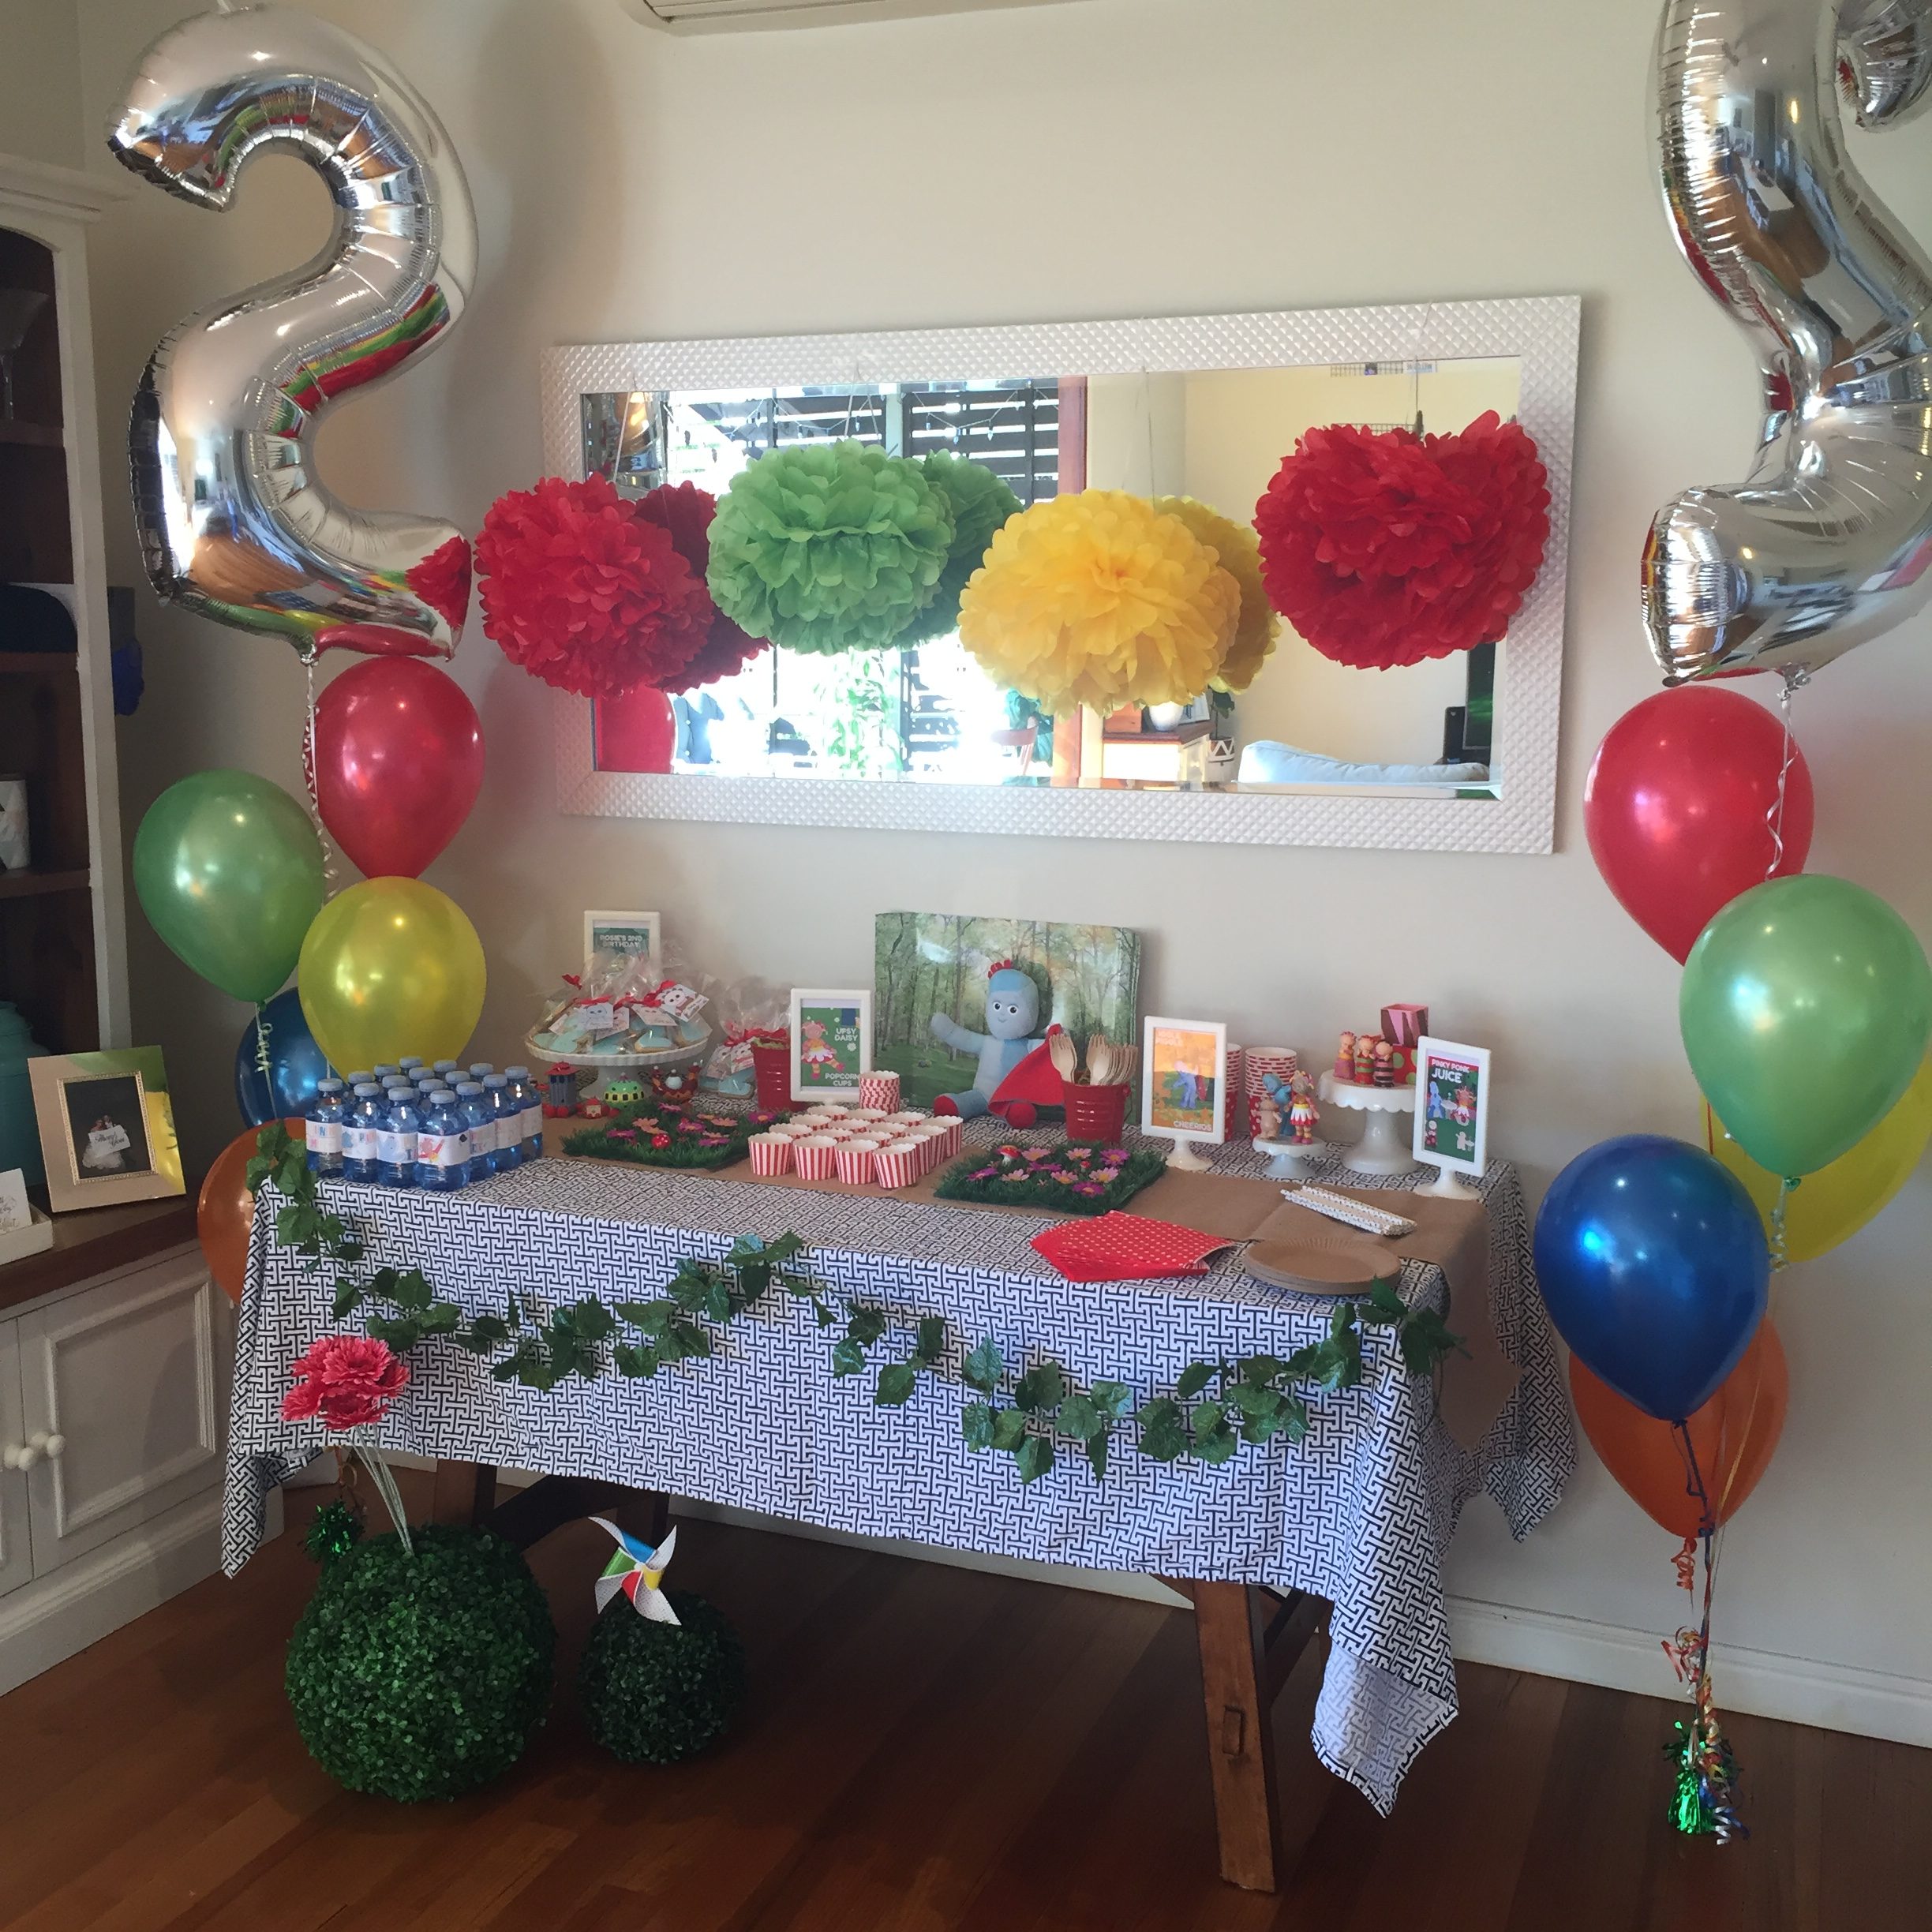
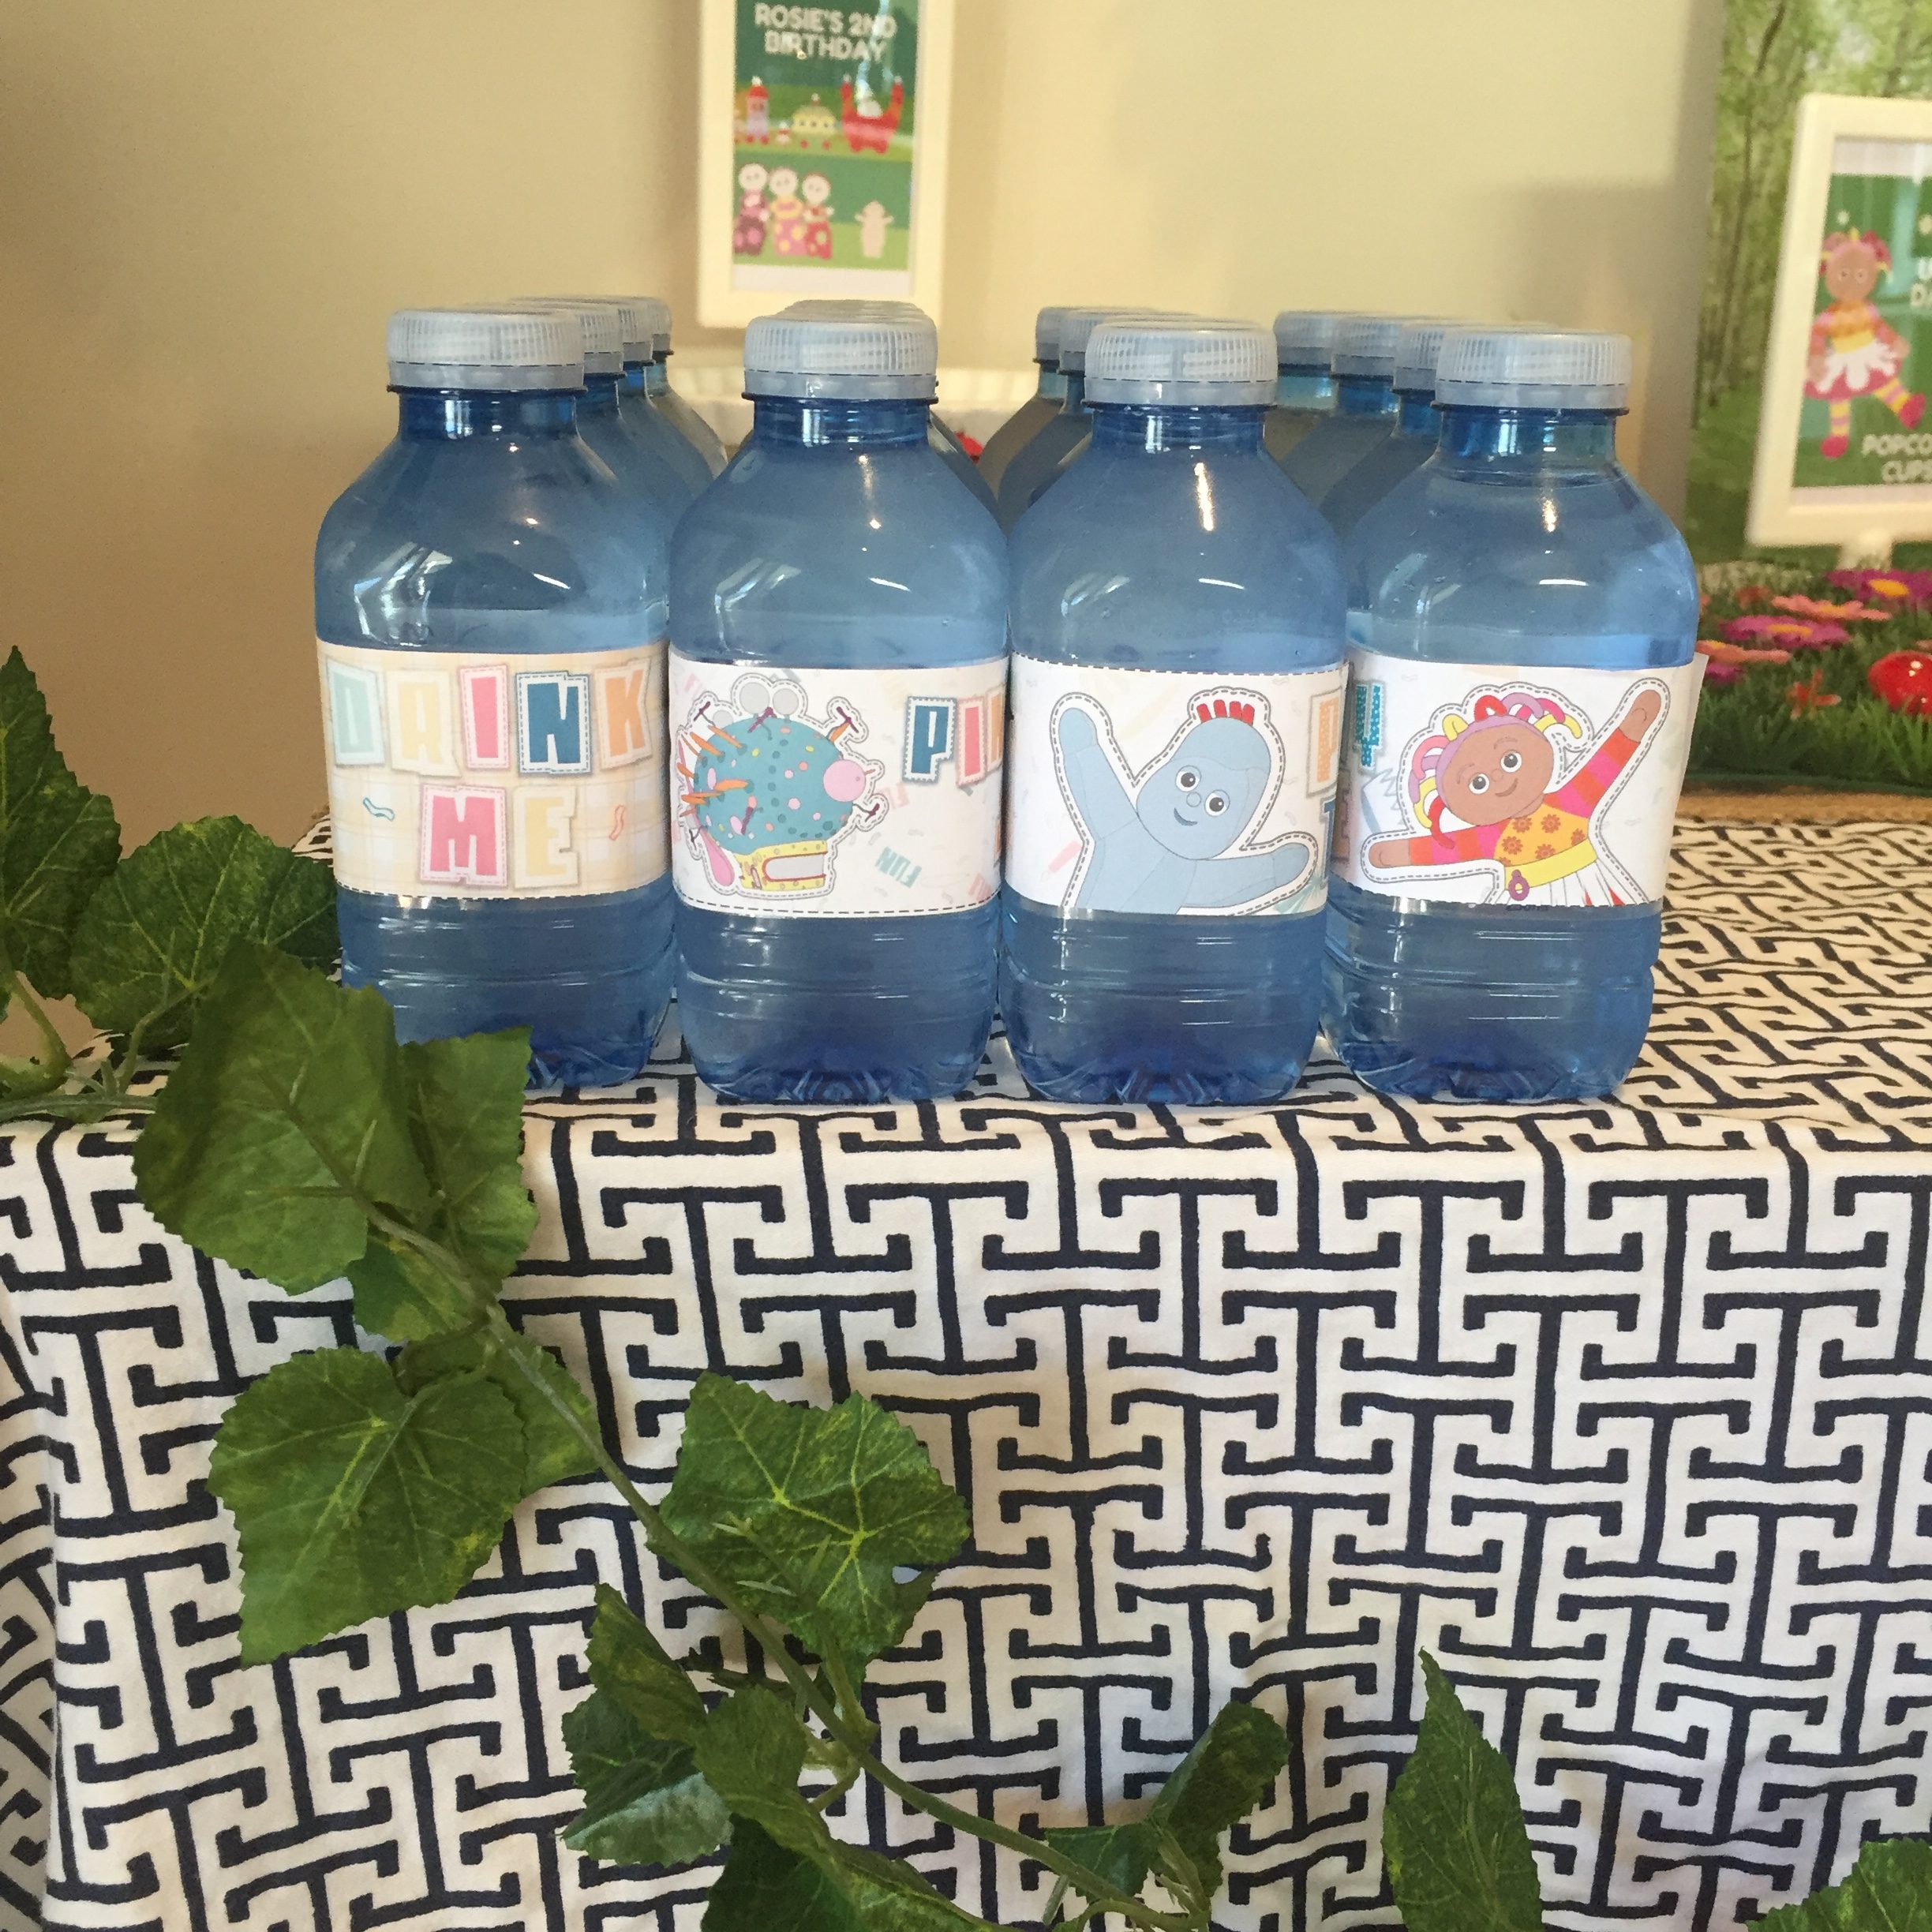
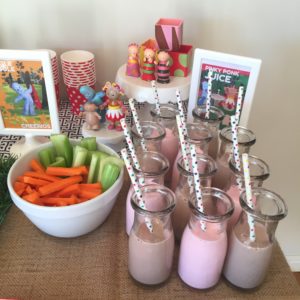
Themed Water Bottles
I have found that the easiest way to create a party theme is to simply create a table at the centre of the party that is themed, add some balloons and a cake and you have yourself a party theme.
Once you have your theme, it’s the small details that make the difference. These days you can easily find what you need to make signs and labels online. I found a lot of templates online for free, just by searching ‘in the night garden part theme’. They even had lots of items you can download from the INTG website. For the water bottles I downloaded the free template and got the labels printed at Office Works and used my paper cutter to trim them.

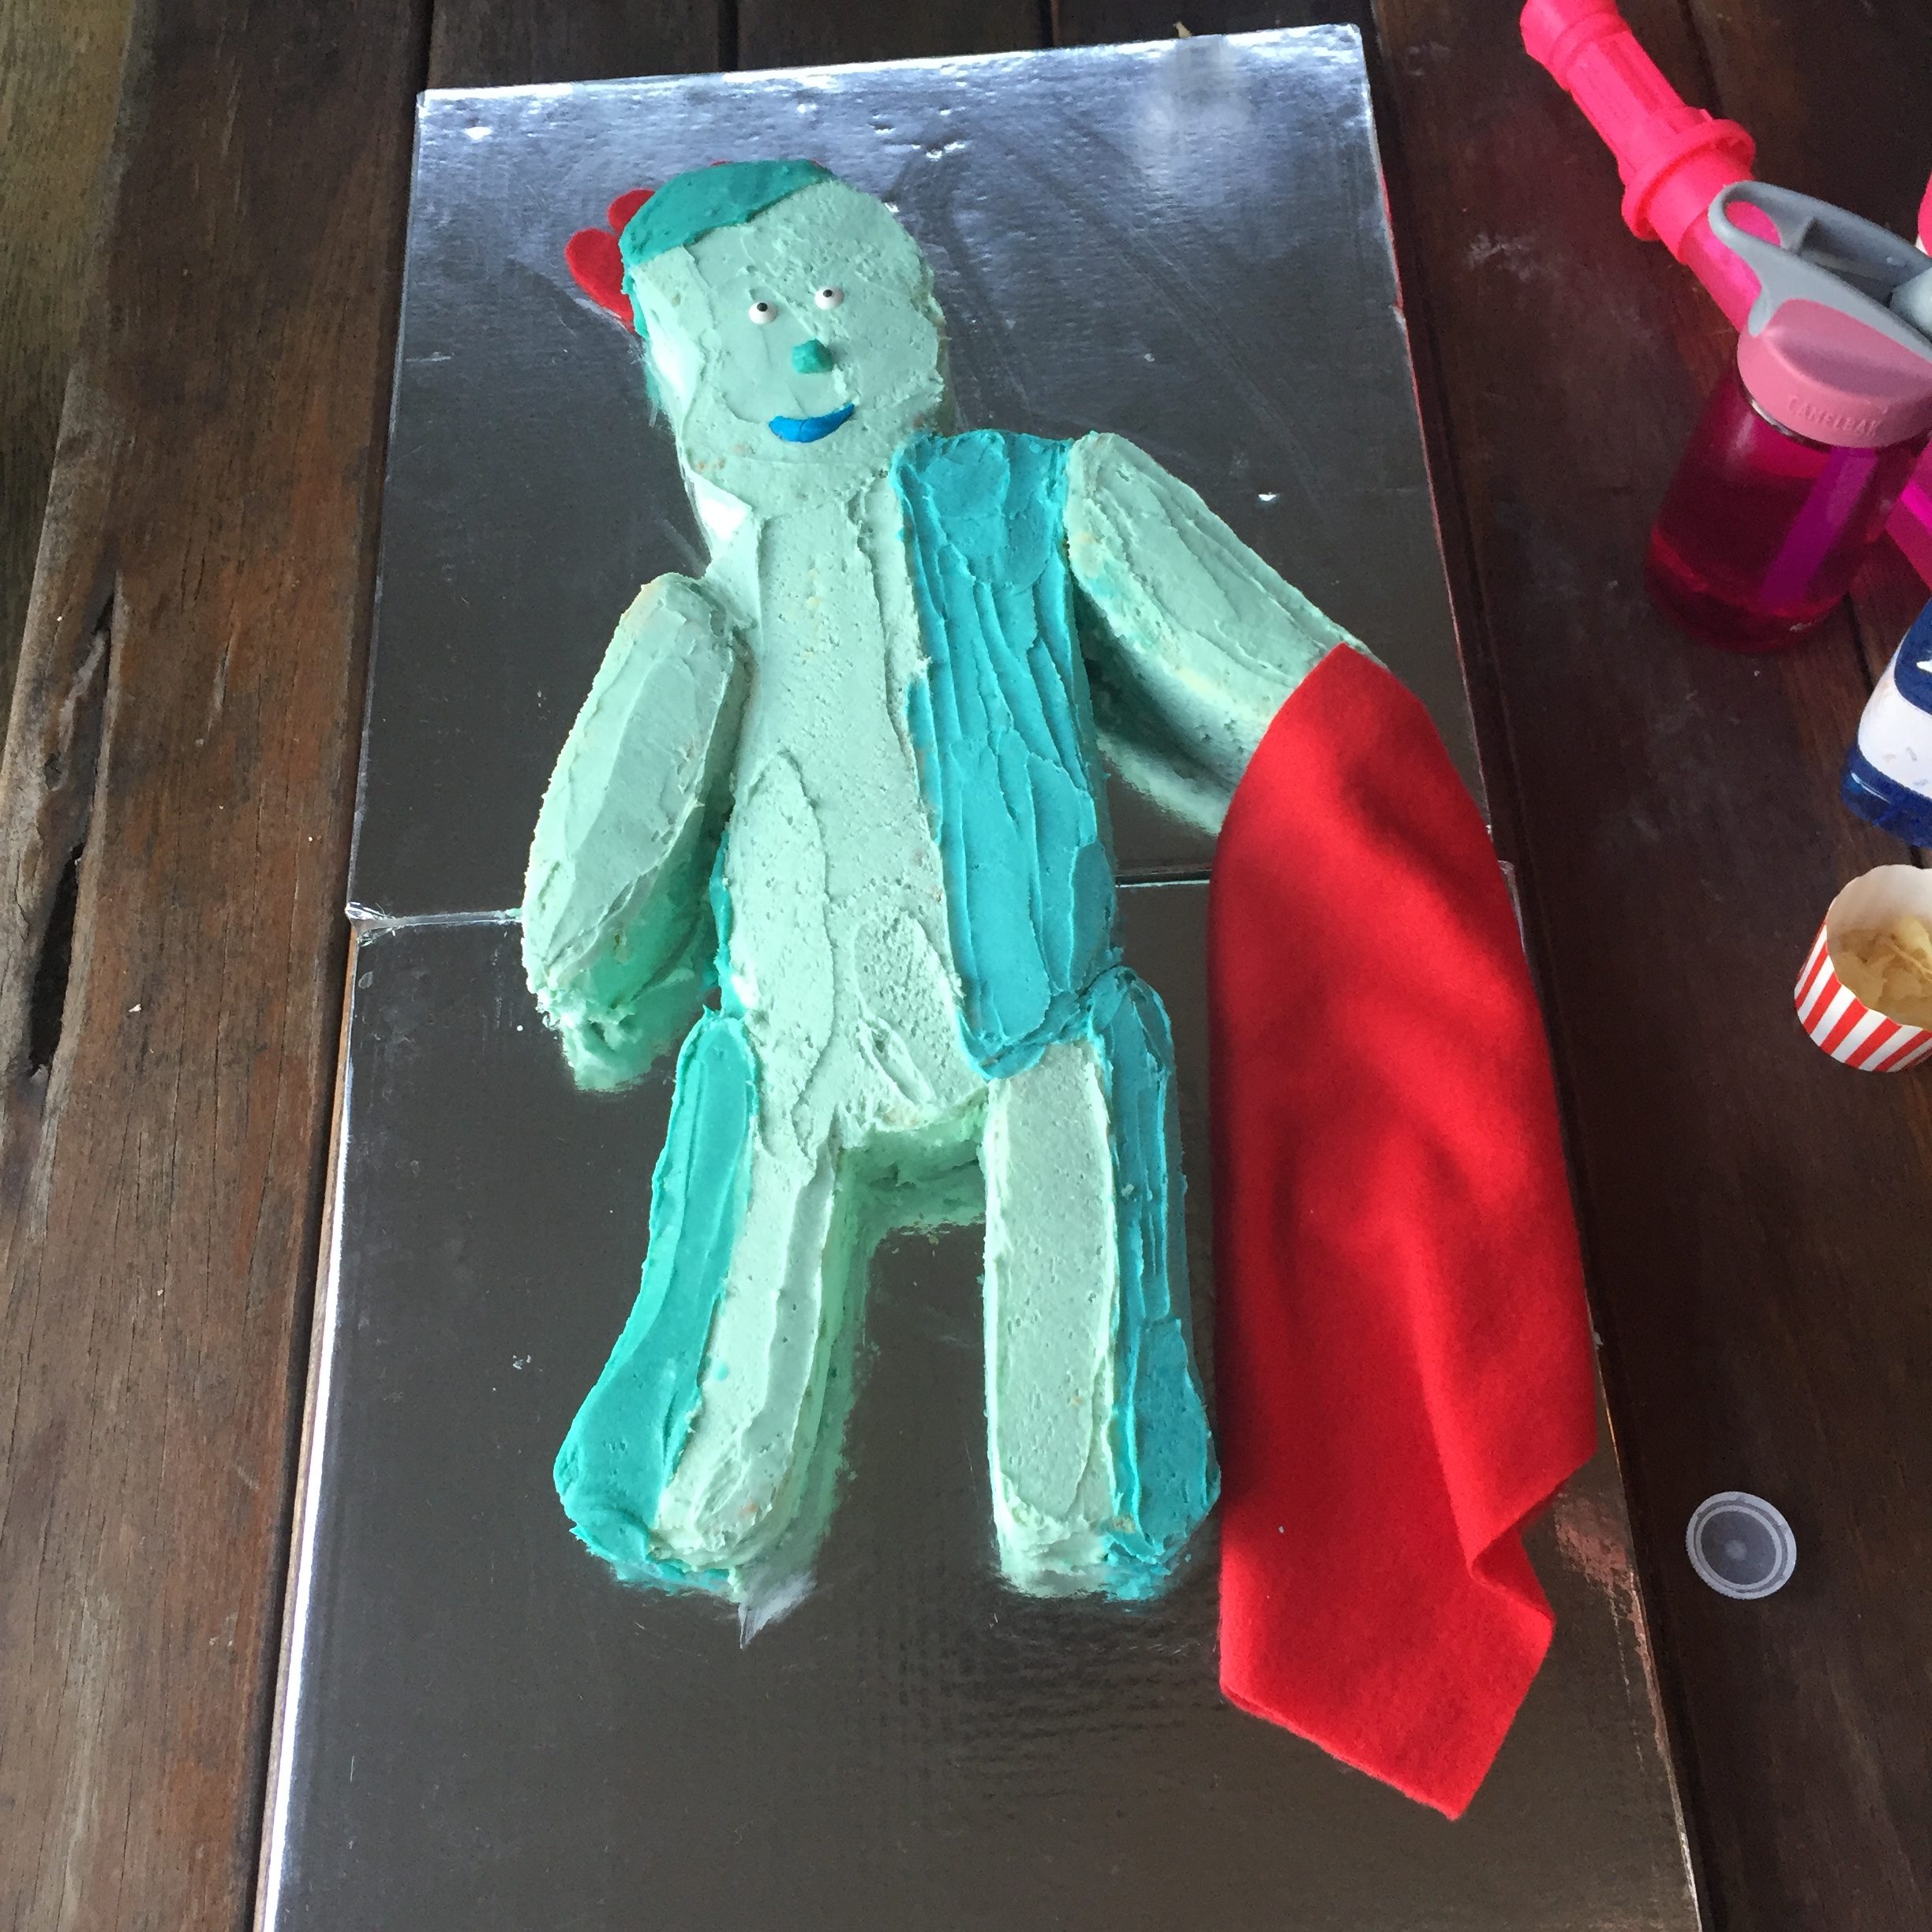
Iggle Piggle Cake
I had some plastic frames from IKEA that I had used at a previous birthday party and created some signs for the food using Canva which is an online design tool (it’s awesome, don’t get sucked into the vortex that is Canva, sooo addictive). I called the flavoured milk Pinky Ponk Juice, and made some other signs for other food I was serving. All the images I found online on the INTG website.
The hardest part of the organising was probably the cake. I started with a large slab of sponge cake from Woolworths (get amongst it Mums, it will change your life). I cut out a template on paper first to cut all the shapes for the cake. I also put a layer of fresh cream in the middle just to make it extra tasty. I thought I would try and be clever and use fondant, by 9pm the night before the party I gave up, the colour was awful and the taste was just as bad. So I had a glass of wine to recover from the first Iggle Piggle attempt then regrouped on the morning of the party and went with buttercream icing instead. Much easier and it tastes great! A little bit of blue colour and some red felt that I picked up from Spotlight for a couple of dollars and he was done, you have an Iggle Piggle cake.
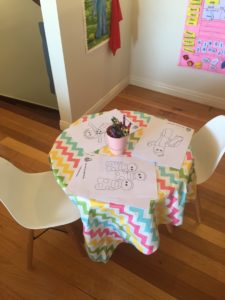
I set up a colouring in table using templates that I also printed from the INTG website (it’s amazing how many free templates you have access to for theme parties) and also created a ‘Pin the blanket on Iggle Piggle’ using another FREE template. I got all my printing done at Office Works. It’s affordable and they offer the ‘trim’ option which is very useful.

One of my besties made gorgeous cookies as the party favour and I also handed out some bubbles, by 5pm the party was done and we all got to sit down enjoy a champas and celebrate our little girl turning 2.

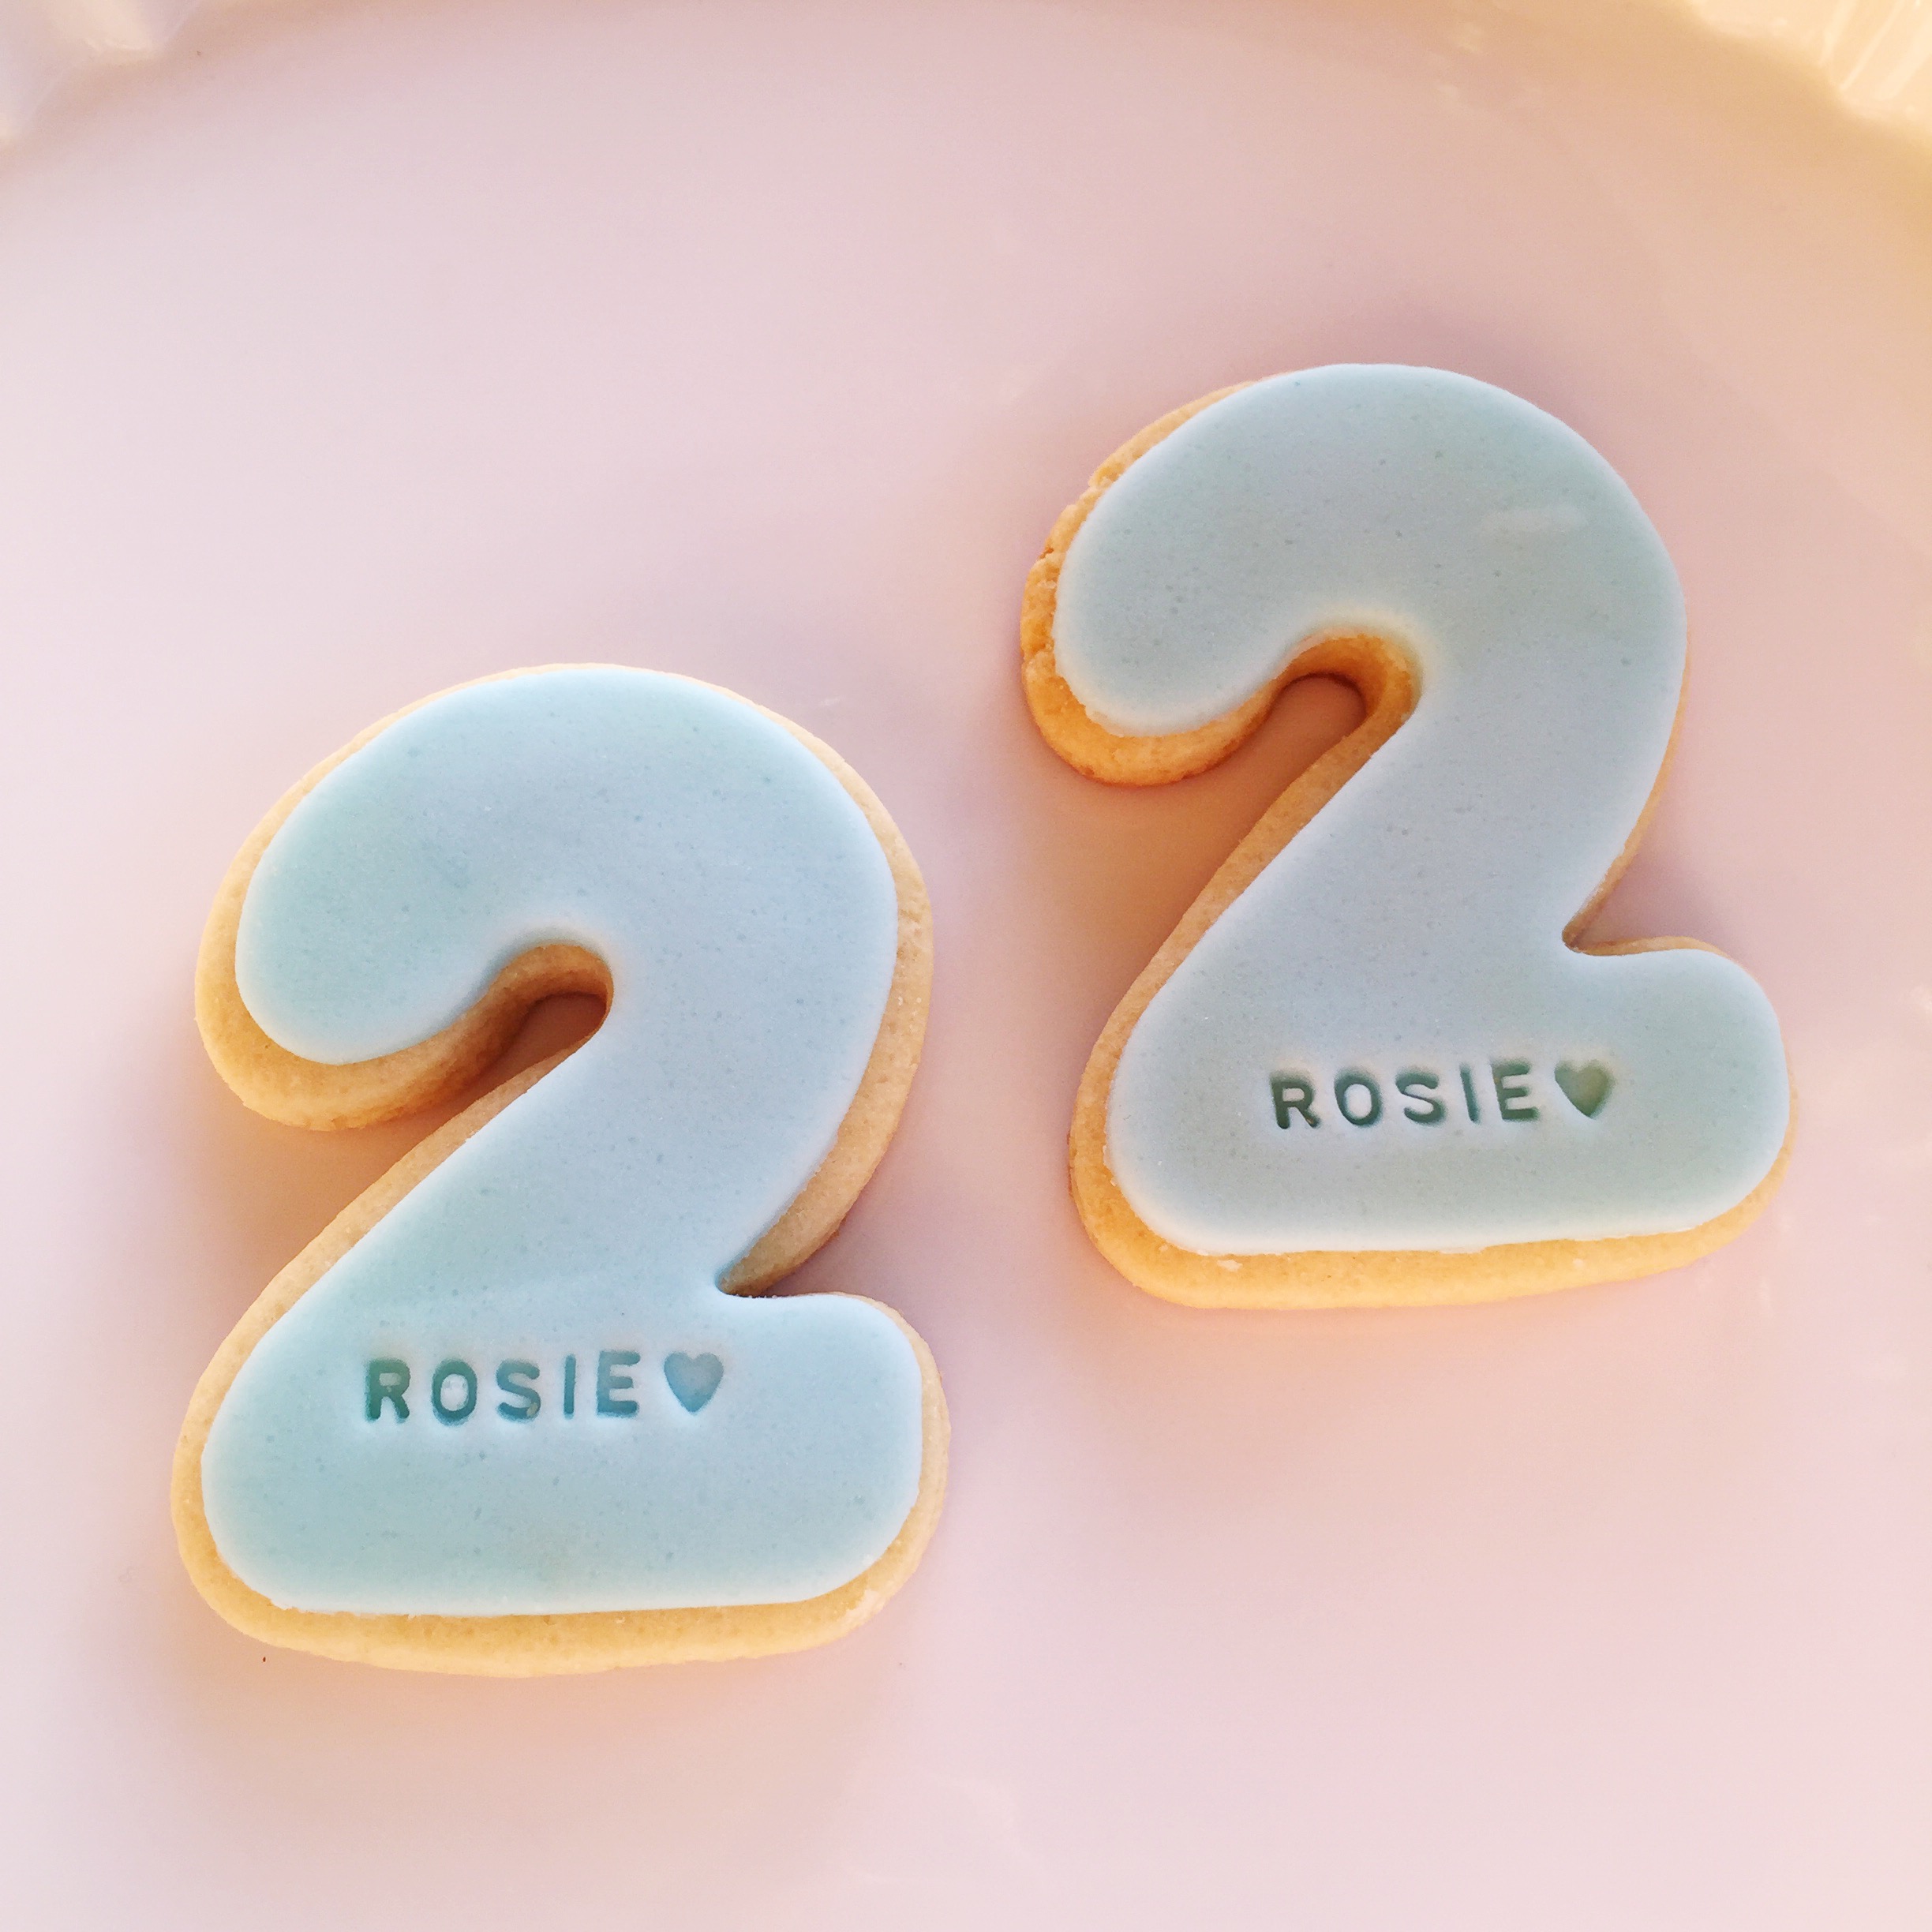
Cookie Cutter Love
Pinky Ponk Juice AKA Flavoured Milk